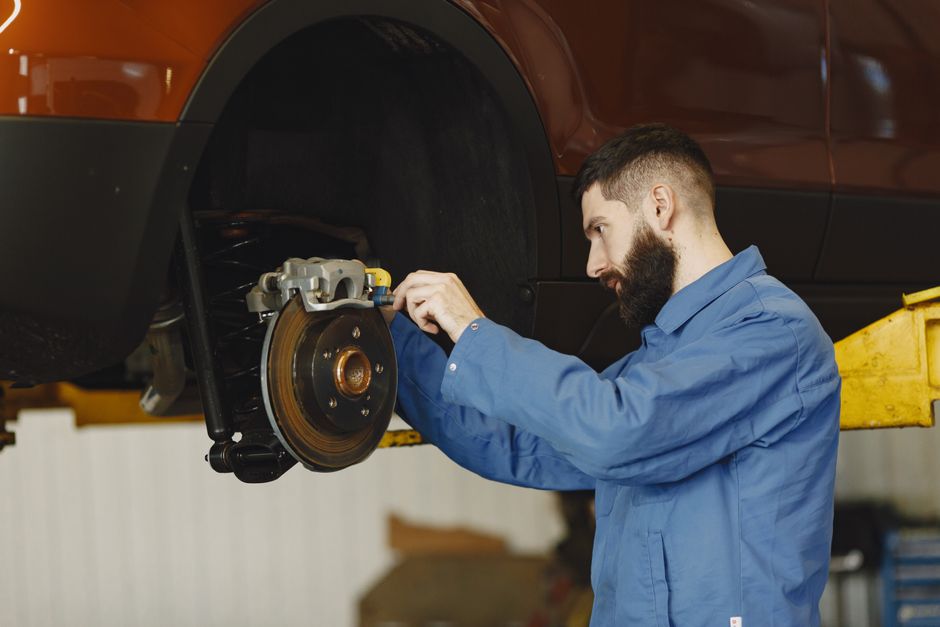
Why Replace Brake Pads Yourself?
Replacing brake pads at home can save you up to 70% compared to a shop visit, and it gives you direct insight into your vehicle’s braking system. When you understand the process, you can spot wear early, avoid surprise repairs, and maintain confidence in your car’s performance.
Tools and Materials You'll Need
- Jack and jack stands – a hydraulic floor jack and sturdy stands keep the car stable.
- lug wrench or impact driver – to remove the wheel bolts.
- Brake pad spreader or C‑clamp – for compressing the caliper piston.
- Socket set – typically 13 mm or 14 mm for caliper bolts.
- Torque wrench – ensures bolts are tightened to manufacturer specifications.
- New brake pads – choose pads that match your driving style and vehicle model.
- Brake grease – for the pad backing plates and slide pins.
- Safety glasses and gloves – protect your eyes and hands from dust and metal fragments.
Safety First: Preparing Your Vehicle
Before you begin, park the car on a flat surface, engage the parking brake, and place wheel chocks behind the opposite wheels. This simple step prevents the vehicle from rolling while you work underneath.
Step‑by‑Step Procedure
1. Lift and Secure the Vehicle
- Position the jack under the manufacturer‑recommended lift point.
- Raise the car until the wheel is at least six inches off the ground.
- Slide a jack stand under the appropriate support bracket and lower the car onto the stand.
2. Remove the Wheel
- Using the lug wrench, loosen the lug nuts counter‑clockwise while the wheel is still on the ground; this prevents the wheel from turning.
- Fully remove the lug nuts and set them aside where they won’t roll away.
- Pull the wheel straight toward you and place it aside.
3. Detach the Old Pads
- Locate the caliper bolts (usually two) and remove them with the socket set.
- Slide the caliper off the rotor; support it with a zip‑tie or a piece of wire so it doesn’t dangle from the brake hose.
- Take out the retaining clips or pins that hold the pads in place.
- Gently pull the worn pads away from the rotor.
4. Inspect the Rotors
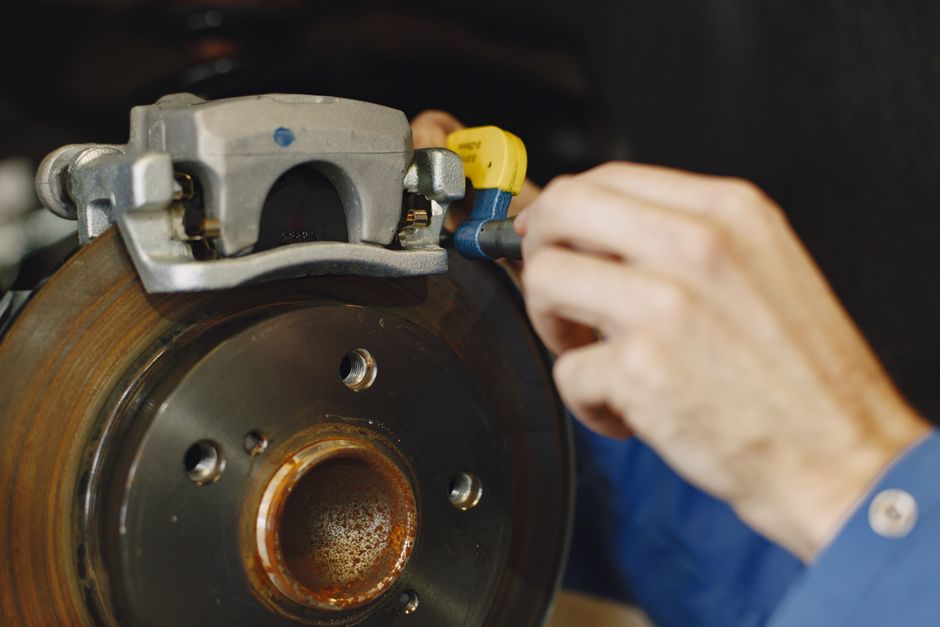
Spin the rotor by hand. Look for deep grooves, rust spots, or uneven wear. If the rotor surface is scored, consider resurfacing or replacing it before installing new pads.
5. Install the New Pads
- Apply a thin layer of brake grease to the backs of the new pads and the caliper slide pins; this prevents squeal and eases movement.
- Place the new pads into the caliper bracket, ensuring they sit flush with the guide pins.
- Re‑insert any retaining clips or pins.
6. Compress the Caliper Piston
Use a C‑clamp or brake pad spreader to push the piston back into the caliper housing. This creates enough clearance for the new, thicker pads.
7. Reassemble the Brake Assembly
- Slide the caliper back over the rotor and align the bolt holes.
- Hand‑tighten the caliper bolts, then finish tightening with a torque wrench to the specification listed in your owner’s manual (typically 70–95 Nm).
- Replace the wheel, hand‑tighten the lug nuts, lower the car off the jack stand, and then torque the lug nuts to the proper value (usually 100–130 Nm).
8. Test the Brakes
Before driving, pump the brake pedal several times until it feels firm. This moves the pads into contact with the rotor and removes any air trapped in the system. Take a short, low‑speed test drive to confirm that braking feels normal and that there are no unusual noises.
Common Mistakes to Avoid
- Skipping the piston compression step – leads to dragging pads and premature wear.
- Using the wrong torque settings – can cause warped rotors or stripped bolts.
- Neglecting to clean the caliper bracket – dust and old grease reduce pad performance.
- Re‑using damaged or corroded hardware – compromises safety and may cause premature failure.
Tips for Extending Pad Life
- Inspect pads every 10,000 km and replace them at 3 mm thickness or when squealing occurs.
- Maintain proper brake fluid level and replace fluid every 2 years to avoid moisture buildup.
- Drive smoothly; aggressive braking heats the pads faster and reduces lifespan.
- Consider ceramic pads if you frequently drive in stop‑and‑go traffic; they generate less dust and tend to last longer.
When to Seek Professional Help
If you notice a pulsating brake pedal, a grinding noise that persists after replacement, or any sign of fluid leakage, stop the DIY process and have a qualified mechanic inspect the system. These symptoms often indicate deeper issues such as warped rotors, a stuck caliper, or air in the brake lines.
Conclusion
Learning how to replace brake pads at home empowers you to cut costs, maintain safety, and understand your vehicle’s braking health. By gathering the right tools, following each step carefully, and respecting safety protocols, most drivers can complete the job in under two hours. Remember to inspect rotors, use proper torque values, and test the brakes before returning to the road. When in doubt, professional assistance ensures that your brake system remains reliable for every mile ahead.
Comments (0)
No comments yet. Be the first to comment!
Leave a Comment