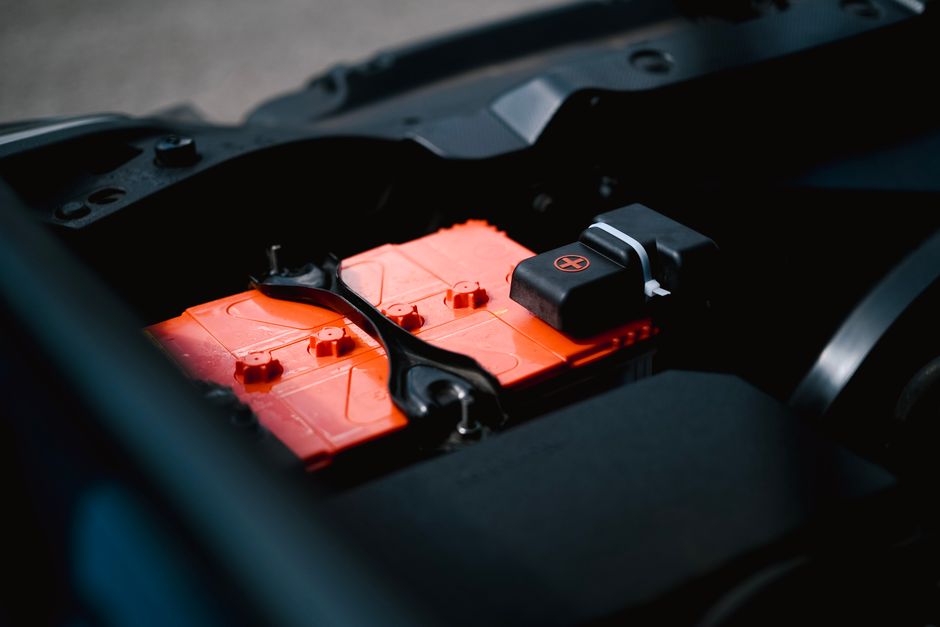
How to Replace a Car Battery Safely
Replacing a car battery is one of the most common maintenance tasks a driver can face. While the job doesn’t require a mechanic’s license, it does demand respect for electrical safety and a clear procedure. Follow this guide to change your battery without risking a short circuit, personal injury, or damage to the vehicle’s electronic systems.
Why safety matters
Modern cars contain dozens of electronic modules—ECUs, sensors, infotainment units—each of which can be damaged by a sudden voltage spike. A careless connection or a dropped battery can also cause acid burns or fire. Treating the battery as a high‑energy source, not just a heavy metal block, is the first step toward a safe replacement.
Tools and materials you’ll need
- Safety gear: insulated gloves, safety glasses, and long sleeves.
- Basic hand tools: a 10 mm socket or wrench, a screwdriver set, and optionally a battery terminal puller.
- Cleaning supplies: a wire brush, baking soda, water, and a clean rag.
- New battery: verify the correct group size, voltage (12 V for most passenger cars), and Cold‑Cranking Amps (CCA) rating.
- Optional accessories: battery hold‑down clamp, dielectric grease, and a portable charger for testing.
Step 1: Prepare the vehicle
- Park the car on a flat surface, engage the parking brake, and turn off the ignition. Remove the key and any electronic accessories.
- Open the hood and locate the battery. In some models the battery sits under a plastic cover or in the trunk; consult the owner’s manual if you’re unsure.
- Disconnect the negative (black) terminal first. This eliminates the circuit and prevents accidental shorting when the positive terminal is later handled.
Step 2: Disconnect the old battery
Use a 10 mm socket to loosen the negative terminal bolt. Once the cable is free, gently wiggle it away and set it aside, ensuring it cannot touch any metal part. Next, repeat the process with the positive (red) terminal. If the terminals are corroded, apply a little baking‑soda‑water solution to the bolt before loosening—it will reduce resistance and make the bolt turn more easily.
Step 3: Remove the battery
Most batteries are secured with a hold‑down bracket or a metal strap. Remove any bolts or fasteners holding the bracket, then lift the battery out of the tray. Batteries can weigh 30–50 lb (13–23 kg), so use proper lifting technique: bend at the knees, keep the back straight, and consider using a battery carrier if you have one.
Step 4: Inspect and clean the tray
With the old battery out, check the battery tray for corrosion, debris, or broken clamps. A quick clean with a wire brush and a baking‑soda solution will improve the new battery’s connection and prolong its life. After cleaning, dry the area thoroughly and apply a thin coat of dielectric grease to the terminals—this helps prevent future corrosion.
Step 5: Install the new battery
Place the new battery in the tray, aligning the positive (+) and negative (–) posts with the corresponding cables. Make sure the battery sits level; an uneven position can cause the hold‑down clamp to loosen over time.
- Re‑attach the hold‑down bracket and torque the bolts to the manufacturer’s specification (usually around 10–12 Nm).
- Double‑check that the battery terminals are not reversed—mix‑up can damage the vehicle’s electronics instantly.
Step 6: Reconnect the terminals
Connect the positive terminal first. Slide the red cable onto the positive post, tighten the bolt until it is snug but not over‑torqued (about 8–10 Nm). Then attach the negative cable, tightening it similarly. Once both cables are secure, give each a gentle tug to confirm there is no movement.
Step 7: Test the system
Close the hood, insert the key, and turn the ignition to the “ON” position. The dashboard lights should illuminate without flicker. Start the engine; listen for a smooth crank and verify that all electronic accessories (radio, lights, climate control) function normally. If the car stalls or the battery light remains on, re‑check the terminal connections and the polarity.
Common mistakes to avoid
- Reversing polarity: Connecting the positive cable to the negative post (or vice‑versa) creates a short circuit that can melt wiring.
- Skipping the negative‑first rule: Removing the positive terminal first can cause a spark if the wrench touches the car’s frame.
- Neglecting corrosion: Ignoring buildup on terminals reduces charging efficiency and can lead to premature battery failure.
- Improper disposal: Never throw an old battery in the trash; take it to a recycling center or auto parts store that accepts lead‑acid batteries.
Frequently asked questions
- Can I replace the battery without removing the old one? No. The old battery must be taken out to access the tray and to ensure the new battery sits correctly.
- Do I need to reset any electronic systems after replacement? Most modern cars retain memory, but some models require a reset of the radio or clock. Consult the owner’s manual for model‑specific steps.
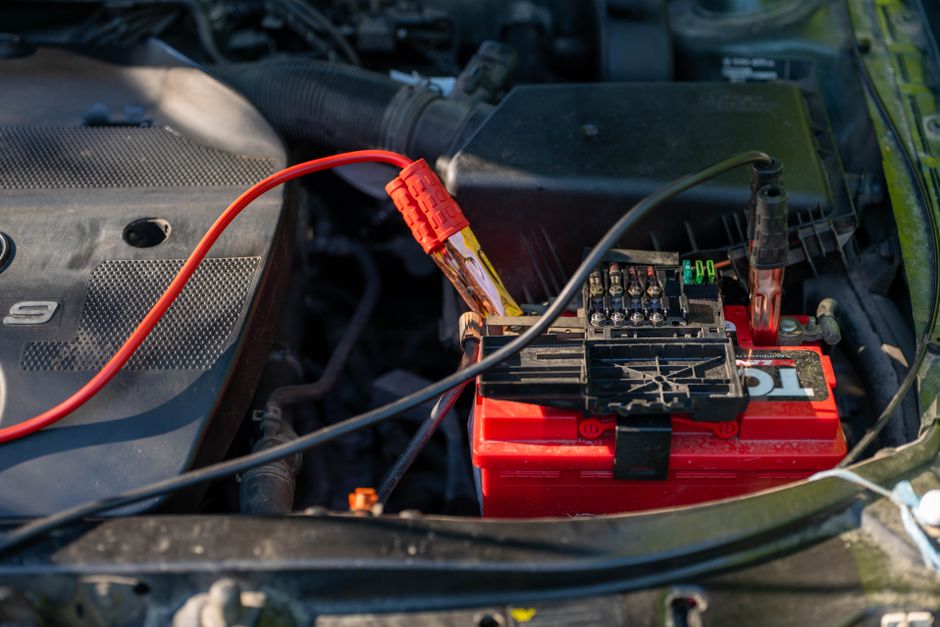
Is it safe to jump‑start a car with a dead battery before replacement? Jump‑starting is safe if you follow proper jumper‑cable polarity and avoid prolonged cranking. However, if the battery is severely damaged, replacement is the better option.
Conclusion
Replacing a car battery safely hinges on three principles: disconnect the negative terminal first, keep the work area free of corrosion, and verify correct polarity before powering the vehicle. By gathering the right tools, following the step‑by‑step process, and avoiding common pitfalls, most drivers can complete the job in under an hour while protecting themselves and their car’s electronics.
Comments (0)
No comments yet. Be the first to comment!
Leave a Comment