Why Change Engine Oil Yourself?
Changing engine oil is one of the most rewarding maintenance tasks you can perform on your car. Doing it yourself not only saves money, but also gives you a clearer picture of your vehicle’s health. When you understand how to change engine oil yourself, you can schedule the service on your own terms, avoid unnecessary shop fees, and develop confidence in handling other minor repairs.
Tools and Materials You’ll Need
Before you open the oil pan, gather the following items. Having everything at hand prevents interruptions and reduces the risk of spills.
- Oil filter wrench – a socket or band type that matches your filter.
- Drain plug socket – usually 13 mm or 15 mm, depending on the vehicle.
- Oil catch pan – at least 5 liters capacity for most passenger cars.
- New engine oil – consult the owner’s manual for viscosity and quantity.
- New oil filter – OEM or a reputable aftermarket brand.
- Funnel – to pour oil without splashing.
- Rags or shop towels – for cleaning hands and wiping drips.
- Gloves – nitrile or latex to keep your skin clean.
Safety First: Preparing Your Workspace
Even a simple oil change can become hazardous if you ignore basic safety measures.
- Park the car on a flat, level surface. Engage the parking brake and, if possible, place wheel chocks behind the rear tires.
- Turn off the engine and let it cool for at least ten minutes. Hot oil can cause serious burns.
- Raise the front of the vehicle with a jack and secure it on jack stands. Never rely solely on the jack.
- Place the oil catch pan directly beneath the drain plug. A small misalignment can lead to spilled oil on the ground.
Step‑by‑Step Guide to Changing Engine Oil
Follow these instructions carefully, and you’ll complete the job in under an hour.
- Remove the old oil filter. Use the oil filter wrench to turn the filter counter‑clockwise. Expect a small gush of oil when the seal breaks.
- Loosen the drain plug. With the appropriate socket, turn the plug counter‑clockwise. Allow the oil to flow completely into the catch pan; this usually takes 5–10 minutes.
- Inspect the drain plug and gasket. Clean any debris, replace the crush gasket if it’s worn, and tighten the plug to the manufacturer’s torque specification (often expressed in Nm).
- Install the new oil filter. Lightly dab fresh oil on the rubber seal of the new filter; this ensures a proper seal. Screw the filter on by hand until the gasket contacts the engine, then give it an additional three‑quarter turn.
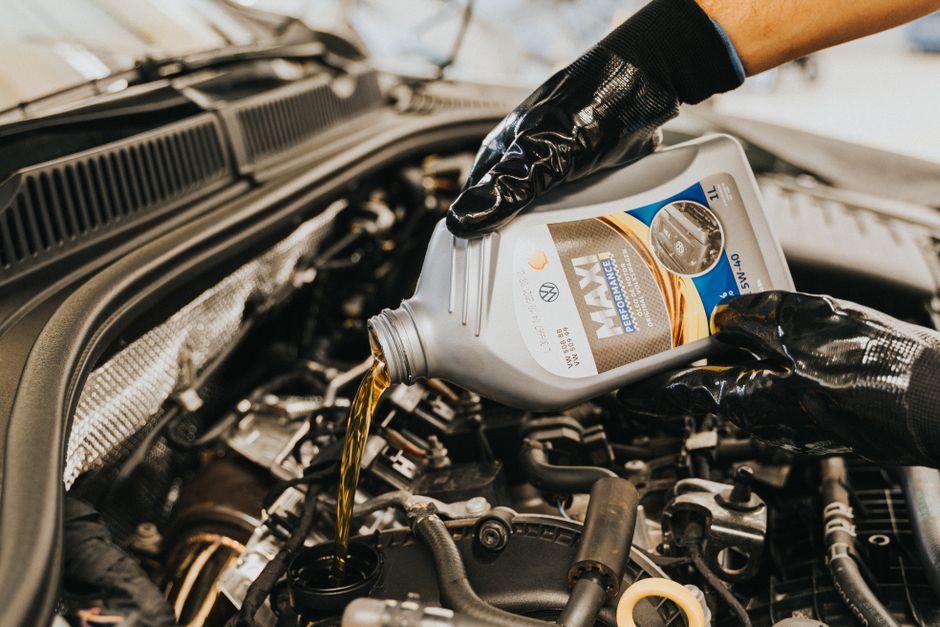
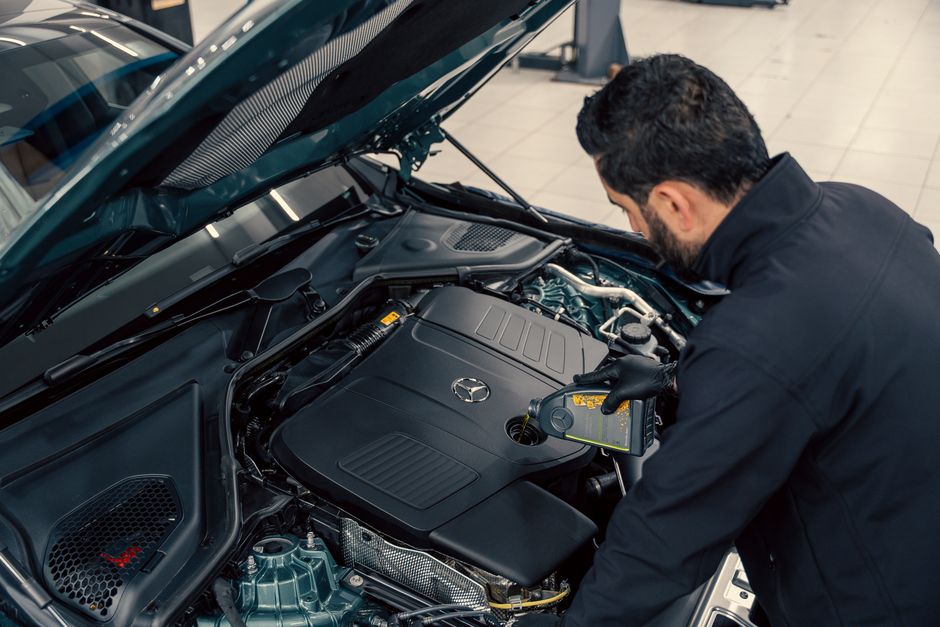
- Add fresh oil. Remove the oil filler cap, insert the funnel, and pour the recommended amount of new oil. Check the dipstick after a few seconds to confirm the level is within the “full” range.
- Check for leaks. Start the engine and let it idle for a minute. Look around the drain plug and filter for any drips. Shut the engine, re‑check the dipstick, and add oil if needed.
After the Oil Change: What to Check
Completing the procedure isn’t the final step. A quick post‑service inspection ensures everything is working as intended.
- Verify the oil pressure gauge (if equipped) stays in the normal range.
- Listen for any unusual noises that could indicate a loose plug or filter.
- Confirm the oil filter wrench is removed and stored safely.
Disposing Used Oil Responsibly
Improper disposal harms the environment and can lead to fines. Transfer the used oil into a sealed container, label it, and take it to a certified recycling center or a service station that accepts used oil. Many auto parts stores offer free disposal.
Common Mistakes to Avoid
Even seasoned DIYers slip up occasionally. Keep these pitfalls in mind:
- Over‑tightening the drain plug. This can strip threads or damage the oil pan.
- Using the wrong oil viscosity. Always follow the manufacturer’s recommendation.
- Skipping the oil filter. A fresh filter prevents contaminants from circulating.
- Neglecting to reset the oil‑change indicator. Some modern cars require a reset procedure after service.
When to Seek Professional Help
DIY oil changes are suitable for most passenger cars, but certain situations warrant a mechanic’s expertise:
- If the engine uses a sealed “maintenance‑free” system.
- When the drain plug is corroded and refuses to turn.
- If you notice metal shavings in the old oil, indicating internal wear.
In those cases, a professional can diagnose underlying issues without risking damage.
Conclusion
Mastering how to change engine oil yourself equips you with a valuable skill, reduces maintenance costs, and deepens your connection with your vehicle. By gathering the right tools, observing safety protocols, and following the step‑by‑step process outlined above, you can perform a clean, efficient oil change in the comfort of your garage. Remember to dispose of old oil responsibly and stay alert for any signs that professional attention may be needed. Regular oil changes keep the engine’s moving parts lubricated, extend its lifespan, and ensure a smoother ride for years to come.
Comments (0)
No comments yet. Be the first to comment!
Leave a Comment